Installing WordPress manually is unnecessary because it can be quickly installed through SoftCool; However, if you want more technical options, this article will cover the steps required to install WordPress manually.
How to Install WordPress Manually, How to install WordPress, How to Install WordPress Complete Beginner’s, How to Install WordPress Manually On Any Web Hosting, WordPress Manual Setup, How to install WordPress manually in Hosting, Installing WordPress manually,
Here are the steps to installing WordPress manually.
- Step 1: Download WordPress
- Step 2: Upload WordPress to the hosting account
- Step 3: Create MySQL database and user
- Step 4: Configure wp-config.php
- Step 5: Run the installation
- Step 6: Complete the installation
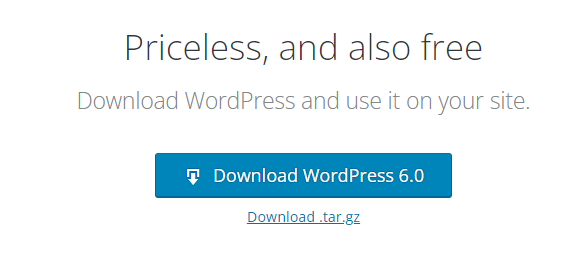
Step 1: Download WordPress
- Download the WordPress package on your local computer from https://wordpress.org/download
- downloaded file to a folder on your local computer.
Step 2: Upload the Package to your Hosting Account
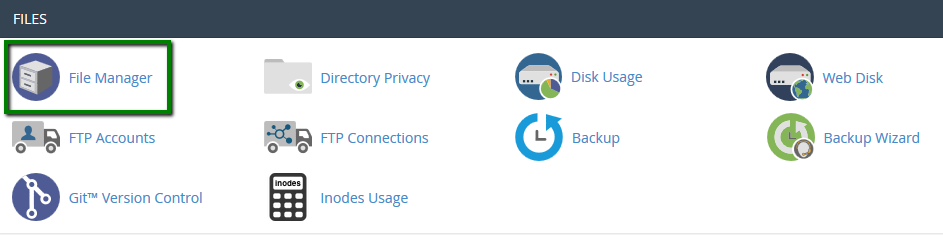
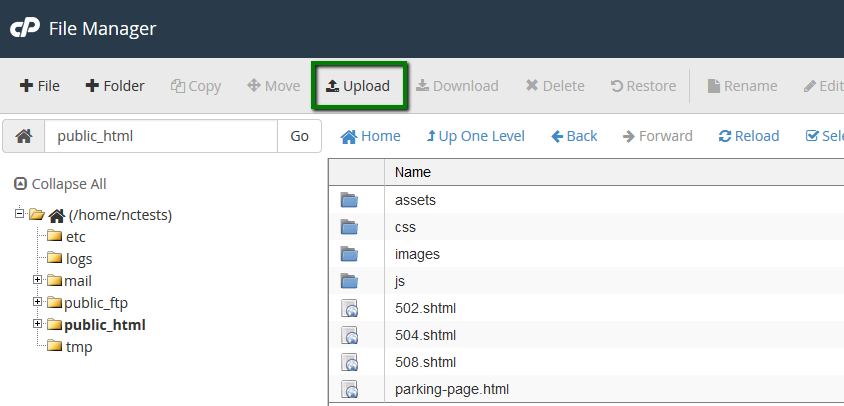
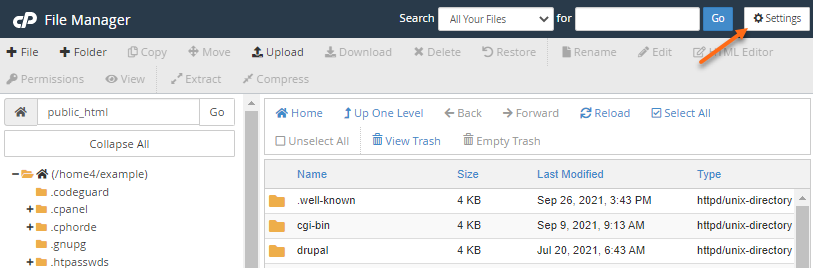
Go to cPanel >> Files section >> the File Manager menu:
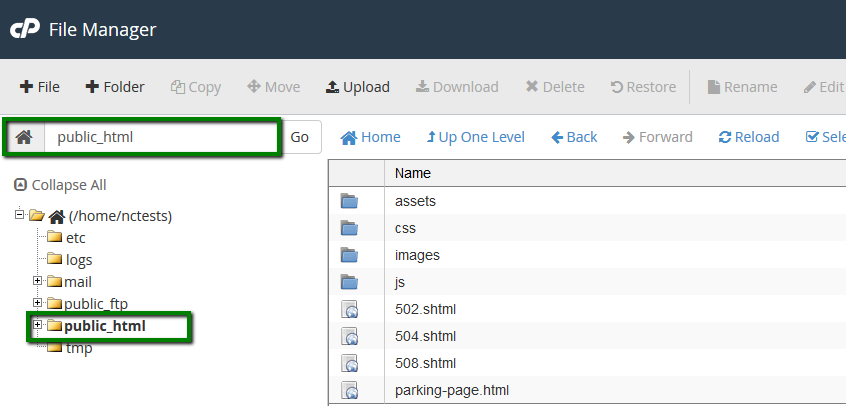
1. You will be taken to the home directory by default:

2. From here you can move to the root folder for your website. If you wish to upload the content for the main domain, navigate to public_html directory:
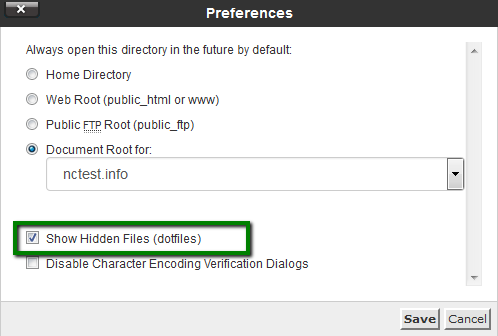
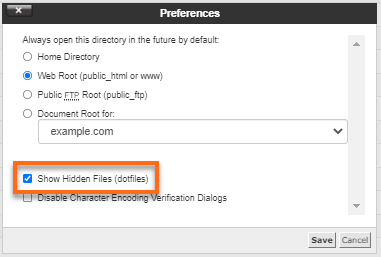
3. If you want to view hidden system files such as .htaccess or others, click on Setting in the right top corner:

4. And enable Show Hidden Files (dotfiles) in the pop-up window:
5. Hit the Upload button:
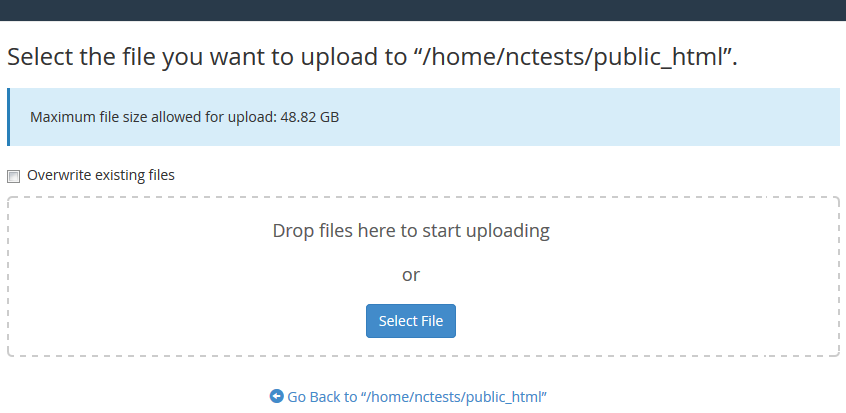
6. Then click on Select File or simply drag-and-drop the need files from your local machine:
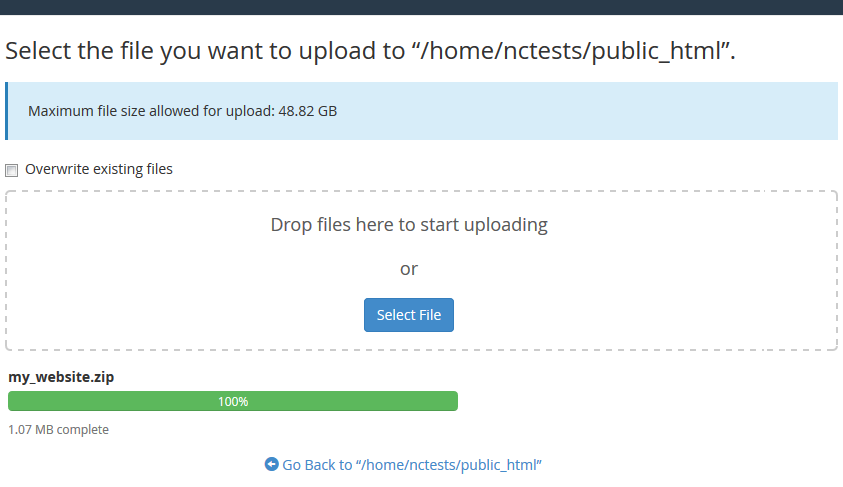
7. Once uploaded, you will see this message:
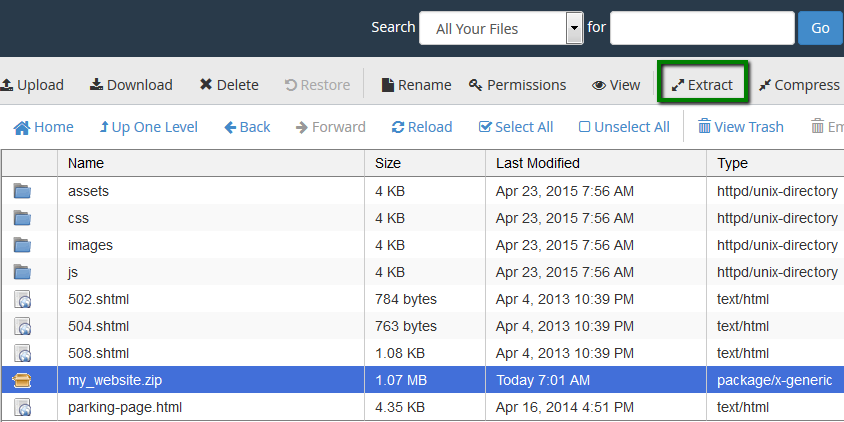
There are three available options for uploading WordPress to your hosting account. When you unzip the file in step 1, you are left with a folder called WordPress and the content needs to be uploaded to the file manager of your hosting account. You can do this in three ways:
Step 3: Create MySQL Database and Users
How to create and maintain MySQL Databases in cPanel
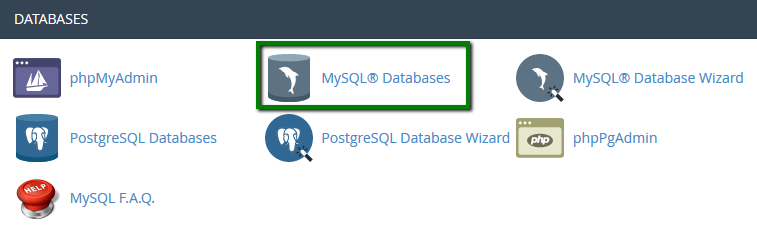
In order to start, log into cPanel and click on the MySQL Databases menu in the Databases section:
Once there, find the Create New Database section, then simply indicate name of the future database and click on the Create Database button:
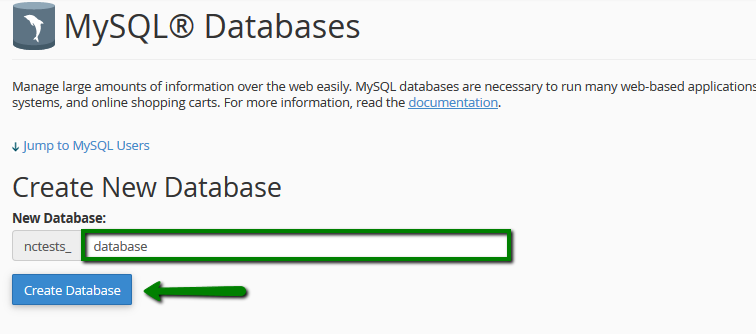
3. The database is created and ready to use. Now, in order to be able to fill and maintain the database, MySQL User should be created and assigned to the database with correct privileges.
To create a MySQL User, find the section called MySQL Users > Add New User and choose the username you wish to assign to your database. Once done, choose a secure password for MySQL User and type it into the corresponding fields:
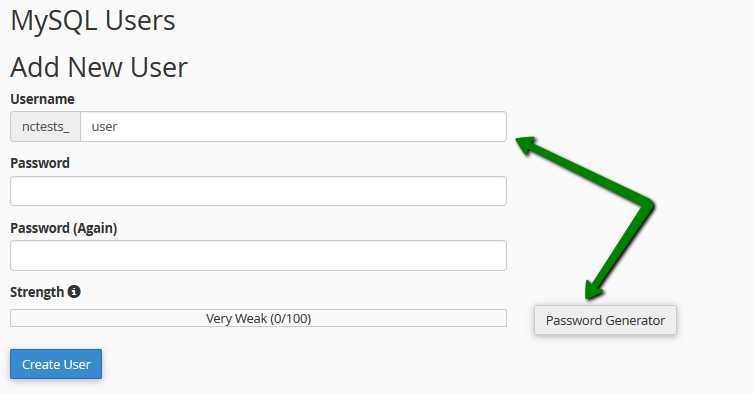
It is highly recommended to use the built-in Password Generator to create a secure password as shown below: Make sure that you save the password, as you will need it to maintain the Database in the Future.

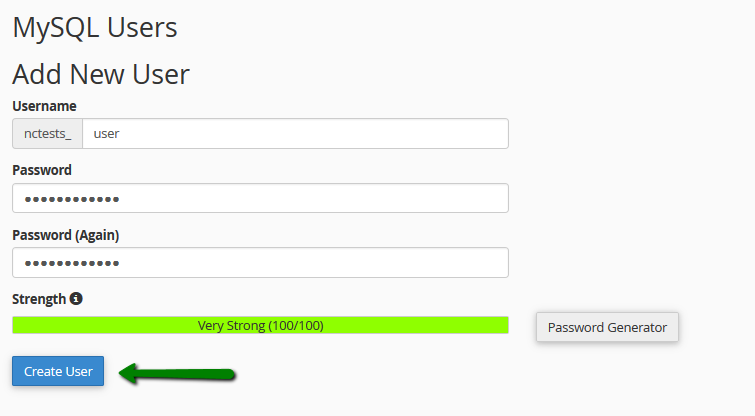
After the password is chosen, simply click on the Create User button to finish the process:
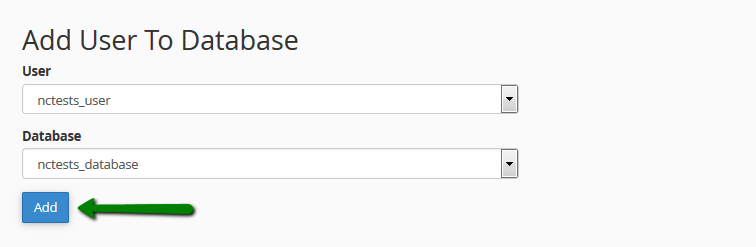
Now you have both MySQL Database and MySQL User created. Now we need to assign MySQL User to the database and set proper privileges. To do this, find the Add User To Database section and make sure that you choose the correct Database and User correspondingly. Once done, simply click on the Add button:
In the next window, you will need to set the appropriate privileges for MySQL users. In this example, we will give you every opportunity to be able to maintain our MySQL database without any restrictions, so all you have to do is select the All Privileges option and click the Edit Changes button:
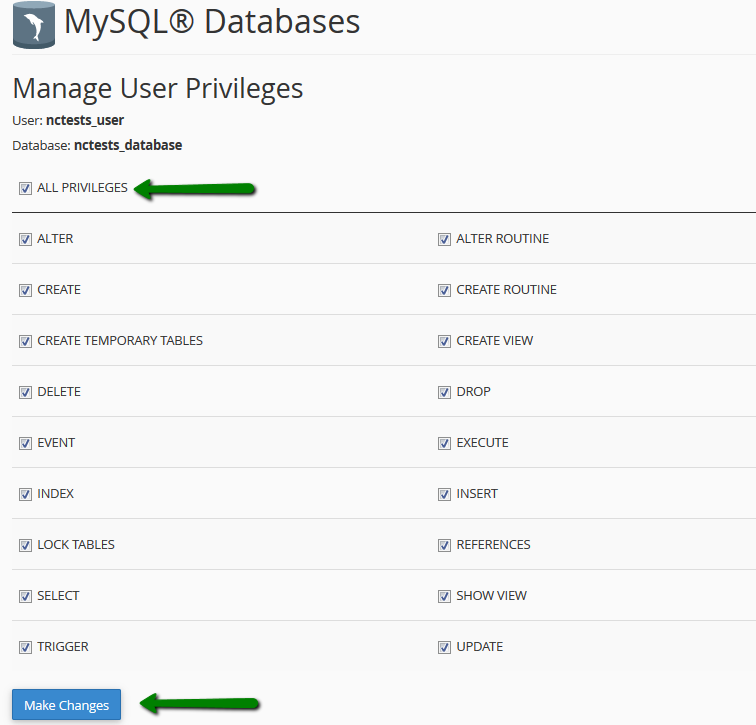
NOTE: It is important to remember that multiple MySQL Users with different sets of privileges can be assigned to the same MySQL Database.
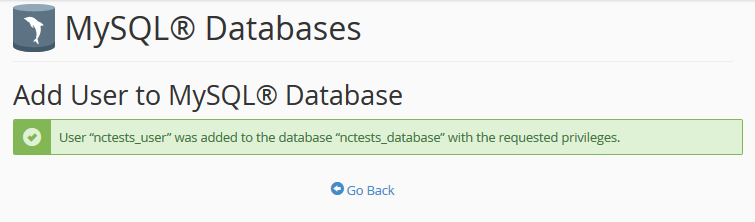
Once finished, you will get the message stating that the MySQL User was successfully added to the Database:
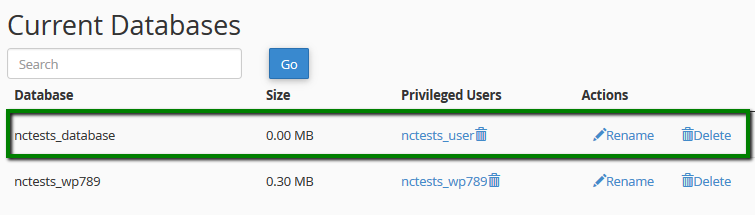
To check this, you can simply go back to the MySQL Databases menu and check the Current Databases section:
Step 4: Configure wp-config.php
The wp-config-sample.php file contains the database information and tells the WordPress application which data to extract from any database. This step needs to be completed to ensure that the correct database information is associated with the WordPress installation.
The wp-config-sample.php file can be found in the file manager in a folder with WordPress installed. The folder in your primary domain is public_html by default, so the steps below show the process for that folder.
Go to the Files section, then click on the File Manager icon.

Click the Settings button to find the upper right corner of your file manager.
In the pop-up box, check the box for Show Hidden Files (dotfiles), then click Save.
In the right-hand panel of the File Manager, locate the wp-config-sample.php file.
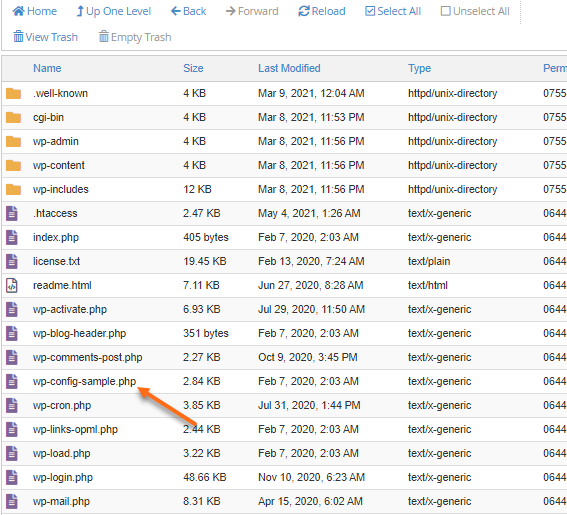
- right-click on the file, then select Rename.
- Change the name of the file to wp-config.php, then click the Rename File button to save the change.
- Right-click again on the new wp-config.php file and select Edit.
- A second pop-up box will appear. Click the Edit button.
11. When the file opens, look for the following information:
/** The name of the database for WordPress */
define( 'DB_NAME', 'database_name_here' );

/** MySQL database username */
define( 'DB_USER', 'username_here' );

/** MySQL database password */
define( 'DB_PASSWORD', 'password_here'' );

/** MySQL hostname */
define( 'DB_HOST', 'localhost' );- Replace database_name_here with the name of the database you created (Step 3 above: Create MySQL Database and Users).
- Replace username_here with the username of the database you have created.
- Replace password_ with the password you created for the database.
Once done, click the Save Changes button at the top right, then close Exit and go back to File Manager.
Step 5: Run the installation
Open a new browser window and enter your domain to execute the installation script. Depending on where you have installed the script, you will be automatically redirected to the following URLs:
If you uploaded WordPress to the domain’s root folder, you should be redirected to:
https://example.com/wp-admin/install.phpIf you uploaded WordPress to a subfolder of your domain’s directory, then the URL will be in this format:
https://example.com/yoursubfolder/wp-admin/install.phpBe sure to replace ‘example.com’ with your actual domain name.
Step 6: Complete the installation
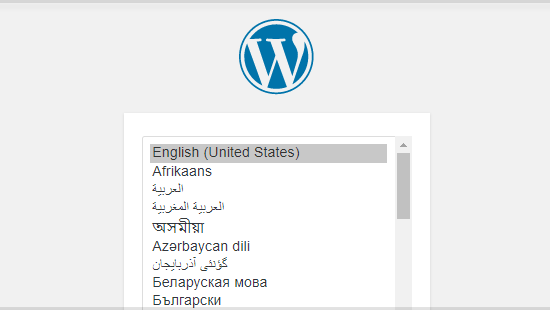
Once you have accessed your correct WordPress URL in a browser, you will see a WordPress setup page that prompts you to select the language of your choice. Select your preferred language and click the Continue button.
You should now see a welcome page that reads, “Welcome to the famous five-minute WordPress installation process!” Under the Required Information section, you must fill out the following fields:
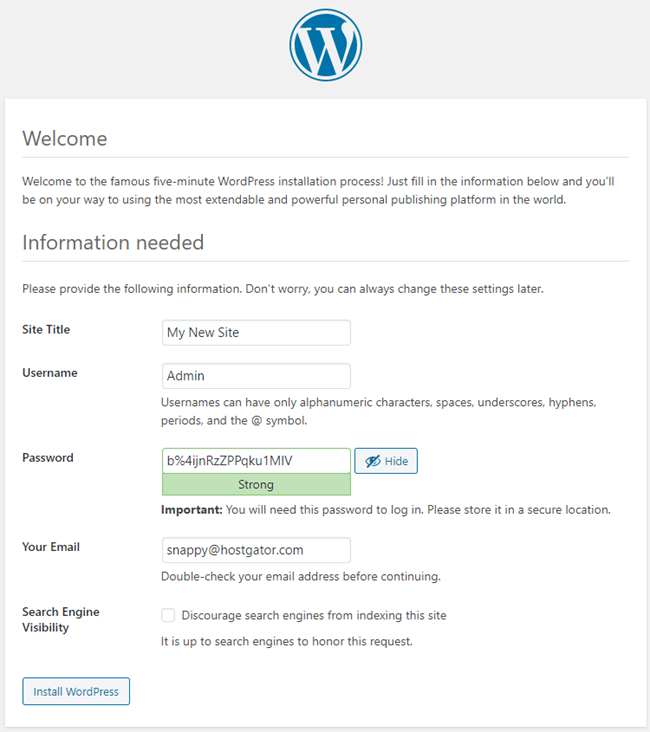
- Site title – This Can’t Change It’s A Late Time.
- Username – This is the username of the site admin. We recommend using something other than ‘admin’ as using it may create security risks.
- Password– A strong password will be automatically generated for you, but you can choose your own. The strength indicator will let you know how secure your password is.
- Your Email– Login information will be sent to this email address, so make sure it is an email address you have access to.
- Search Engine Visibility – If you want your website to appear in search engine results, leave it unchecked. If you do not want to index your site, you can check this box.
Click the Install WordPress button, and you should be taken to the final screen, which says, “WordPress has been installed. Thanks, and enjoy!”. This will show the username you selected and the placeholders for your password on the previous page. Click the Login button to log in to the WordPress Admin Dashboard to start building your site!
How to Install WordPress Manually, How to install WordPress, How to install WordPress, How to Install WordPress Complete Beginner’s, How to Install WordPress Manually On Any Web Hosting, How do I install WordPress manually? , Manually Installing WordPress, WordPress Manual Setup, How to install WordPress manually in Hosting, Installing WordPress manually,